(Editor’s Note: I know Thanksgiving has pased but the fall and winter are still the perfect time for pumpkin pie. Enjoy!)
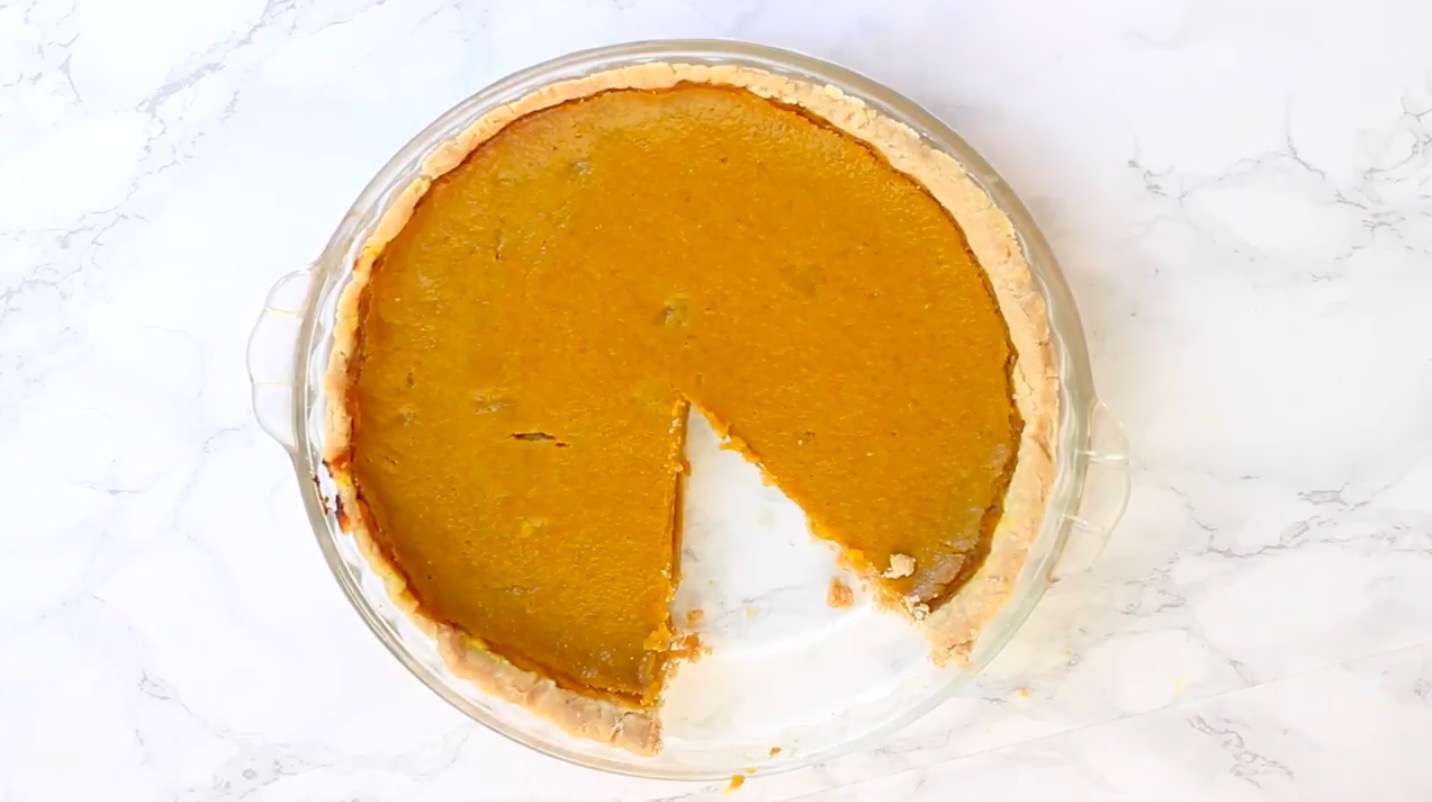
Fall just wouldn’t feel like fall without pumpkin pie, and by the time Thanksgiving rolls around it can be hard to say no to that second piece. But, store-bought pumpkin pies (and sometimes homemade ones too!) are often loaded with sugar and other inflammatory ingredients, that can leave you feeling less than thankful. Well, here’s the solution to all of our problems! Try this (super easy) vegan, gluten-free pumpkin pie recipe that will spice up your fall season.
RELATED STORY:
The Power of Pumpkin
Not only is pumpkin delicious, and pretty to look at, but it’s also packed full of powerful nutrients.
Pumpkin is the best-known source of beta-carotene, which is a powerful antioxidant. Consuming foods rich in beta-carotene may reduce the risk of cancer, protect against asthma and heart disease, and delay aging and body degeneration.
RELATED STORY:
Pumpkin is also a source of fiber, which helps to promote regular bowel movements and smooth digestion. A healthy intake of fiber can help to reduce the risk of colon cancer.
Who knew that dessert could be so good for you?
Canned Vs. Fresh Pumpkin Puree
For the longest time, I didn’t even consider making fresh pumpkin puree. I assumed it was too much work compared to the “open and scoop” method for the canned puree. Boy, was I wrong. Not only is it quick and easy to make your own pumpkin puree, but it will taste better too.
There are many people that argue that canned pumpkin puree is the same, if not better than the fresh. The truth of that is opinion based, but it’s a fact that a large portion of the calories in canned pumpkin purees comes from sugar. When it comes to Thanksgiving dinner, we don’t want anything else to be guilty about, so cut that sugar out by making your own homemade pumpkin puree.
If you thought it was difficult to make homemade pumpkin puree, dispel that from your mind immediately. You can make it in 5 easy steps:
- Start with a small-medium sized pumpkin. Cut the stem off of the top, and cut the pumpkin in half
- Scoop out the seeds (you can roast them later for a tasty treat!)
- Place the pumpkin on a baking sheet and bake at 375-degrees for 45 minutes. You will know that the pumpkin is done when you can pierce it with a fork and the skin comes off easily.
- Allow the pumpkin to cool, remove the skin, and blend in a food processor.
- Pulse the pumpkin until it is completely smooth. If your puree is too watery, strain it through a cheesecloth, and if it is too dense add water to get your desired consistency.
And that’s it! Seriously, that’s how easy it is. Now you’re ready to get cooking on your homemade vegan and gluten-free pumpkin pie.
RELATED STORY:
Vegan + Gluten-Free Pumpkin Pie Recipe
This recipe comes from home-chef Jessica of Jessica in the Kitchen, which is a website devoted to sharing recipes with natural whole ingredients that will help you to feel the best that you can.
Dietary Restrictions: Dairy-free, gluten-free
Yields: 1 deep-dish pie
Ingredients:
2 cups (16 oz/450g) homemade pumpkin puree
1/2 teaspoon sea salt
1 cup (8.11 oz/230g) coconut milk from the can, the fat creamy white portion
1/2 teaspoons cinnamon
1/2 teaspoon ground ginger
1/2 teaspoon allspice
1/4 cup (3oz/84g) maple syrup
1/2 cup (3.7oz/105.3g) cane sugar or coconut sugar
1/4 cup (60g) cornstarch
Instructions:
1. Preheat oven to 350 degrees.
2. Pre-bake pie crust for 10 minutes. Set aside.
3. In a large bowl, add all the pie ingredients.
4. Blend together well with a whisk until cornstarch is completely whisked out. Alternatively, mix all the dry ingredients together first blend out the cornstarch, then add the wet ingredients.
5. You can leave this to set for an hour covered with a kitchen towel first to allow ingredients to completely blend together or bake immediately.
6. Pour the batter into the pie crust.
7. Bake for 60 minutes in the oven on the lower shelf or highest shelf depending on your oven (furthest away from heat).
8. Remove from oven and let set and cool completely.
9. Cover with saran wrap or foil and set in the fridge for at least 4 to 6 hours, ideally overnight.
10. Remove and cut the pie and serve. Dollop each slice with delicious vegan coconut whipped cream.
Recipe Notes:
- You can use agave nectar as a substitute for maple syrup
- You can use coconut sugar instead of cane sugar
- This recipe is made for a deep-dish pie. If you are using a regular dish, you may have some extra filling. DO NOT fill up to the top of the crust, as the filling will rise as it bakes.
- When you take the pie out of the oven, allow it to cool completely before placing it in the fridge overnight
How to Store
In the Fridge
You can store this baked pumpkin pie in the fridge wrapped in saran wrap or foil for up to 5 days.
In the Freezer
This pie will stay fresh in the freezer for 4 days (and will taste the exact same as the day you made it!). You can also freeze it for up to 1 month, and while it will taste similar it won’t be quite as fresh. To do this, wrap the pie in saran wrap, then in foil, and then place in a freezer safe zipped plastic bag. This ensures that smells and freezer burn will not affect your pie. When thawing, place in the fridge to thaw. Do not thaw on the counter as this will cause your crust to get soggy. If you have raw fish in your freezer, remove this first since this will be the first smell to seep into your pie.
With school starting and Thanksgiving around the corner, fall can be a notoriously busy time of the year. This recipe is quick, easy, and uses minimal ingredients so that you can get out of the kitchen and spend more time with those you love. Spring into fall with this vegan, gluten-free pumpkin pie recipe that will have the whole family screaming for more. You won’t be disappointed.
*Article originally appeard at Healthy Holistic Living.


