
Have you ever priced out those compost bins that you can buy? They have all sorts of bells and whistles, like cranks that turn the contents for you and fancy slide-out trays at the bottom. They can also cost hundreds of dollars. Since that was totally out of my budget, I decided to make a simple DIY compost bin for a whole lot less money.
Of course, you can always pile of a heap of compost in your yard or garden, and that’s exactly what I did when I lived in the country. Now that I’m living in town, I decided I should be a little more civilized. Of course, not $300-for-a-container-civilized.
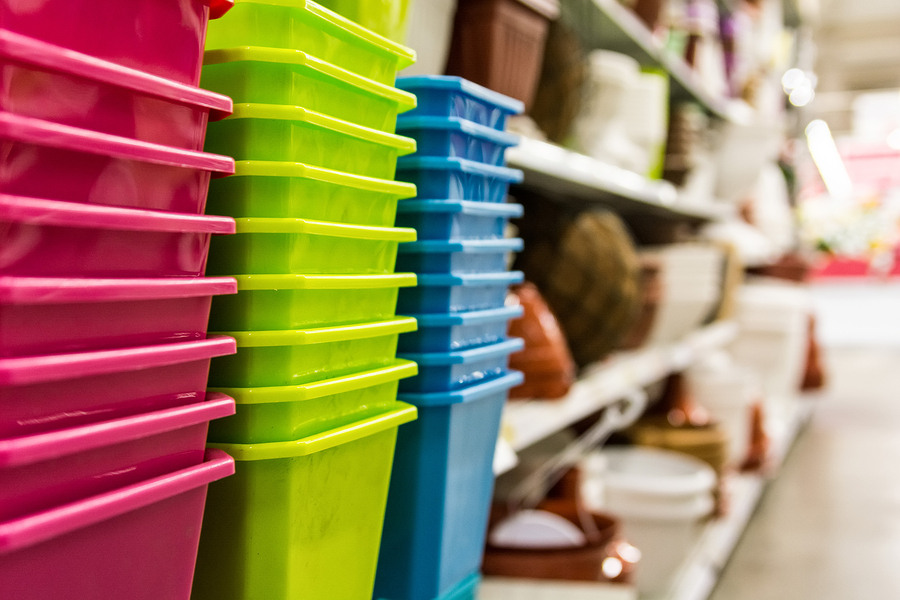
Because we have raccoons, foxes, squirrels and other varmints, I needed a closed container, lest I lure the little $*%#s into my garden. So, I spent $12 to make a compost bin from a 32-gallon latch tote and it only took about 15 minutes. You can get these in all sorts of colors to blend with your fencing or your outdoor decor. I got a happy, cheerful coral color.
This is the easiest DIY ever.
How to Make a Super-Easy DIY Compost Bin
Drill 6-12 holes in the bottom of your bin, then drill a few holes in each side. (The number of holes will depend on the shape of your bin.
Here’s what mine looked like when I finished drilling the holes.
RELATED ARTICLE:
Then, put the lid on the bin to provide a little bit of stability. Finally, drill another half dozen or so holes in the lid of the bin.
That. Is. It.
Can you believe how stupid-easy that was?
Get your compost off to the right start.
Don’t just go pile rotting produce in there or you’ll have a stinky mess. You have to balance out the greens and the browns. (We’ll talk about Greens and Browns in a moment.)
To get your compost off to a good start, lay some ripped up cardboard or newspaper (not the kind with color, just black and white) in the bottom of the bin. Top that with some straw or leaves, then top that with some garden soil. You may need to buy a bag if you don’t have any to spare. I filled my container about a third of the way with these items.
Place your bin in a convenient spot so that you don’t have to climb a fence and hang upside down like a bat to get to it. Make things easy on yourself. I put mine right in the garden, lurking between a shrub and a small tree. This way, when my glorious compost-to-be is done, I don’t have to lug it half a mile. I can just tip it over and spread it out.
How to make the magic happen
Now, let’s create lush soil out of the stuff that people usually throw in the trash.
The smaller the pieces are that you put into your compost pile the faster you will have beautiful soil from it. You can run your fruit and veggie scraps through the blender and run outdoor clippings over with the lawnmower for best results. Paper can be run through the shredder.
Each time you add something to your compost pile, give a little stir. I keep a rake handle nearby for stirring things up. Things are decomposing when they’re giving off a lot of heat. If there isn’t any heat in there, your composting magic is not occurring.
RELATED ARTICLES:
- What to know before growing Broccoli
- Six Homemade Herbicides: Get Rid Of Weeds Without Hurting The Planet
Now, remember how I was talking about balancing your greens and your browns? Here’s how that works.
Things with lots of carbon are Browns and things with lots of nitrogen are Greens. According to CompostGuide.com:
The ideal ratio approaches 25 parts browns to 1 part greens. Judge the amounts roughly equal by weight. Too much carbon will cause the pile to break down too slowly, while too much nitrogen can cause odor. The carbon provides energy for the microbes, and the nitrogen provides protein.
To clarify: If your compost begins to smell bad, you need to add Browns. If it isn’t composting fast enough, you need to add Greens.
50+ Things You Can Compost in Your New DIY Compost Bin
Here are the Browns and Greens you can add to your compost pile, heap, bin, or whatever.
Browns are things like:
- Paper napkins
- Paper towels
- Toilet paper (not with human waste on it)
- Raked leaves
- Newspaper without colored ink
- Junk mail without colored ink
- Sawdust from untreated wood
- Pine needles (don’t go crazy, they can be very acidic)
- Pine cones (also acidic)
- Straw
- Peat moss
- Shredded cardboard
- Envelopes (remove the little plastic window and shred the paper)
- Cotton balls (pulled apart)
- Shredded toilet paper or paper towel tubes
- Shredded egg cartons
- Crushed nut shells
- Shredded twigs and branches
- Coffee Filters
- Lint from the dryer
Greens are things like:
- Fruit skins
- Apple cores but not the pits from stone fruits unless you grind them up
- Vegetable peels
- Vegetable trimmings (like the bottom of the celery)
- Fruits and veggies that have been in the freezer too long
- Grass clippings
- Clippings fro
- m shrubbery
- Potato peel
- Human hair
- Pet hair
- Egg shells
- Tea bags (remove the staples) and tea leaves
- Clippings from non-toxic houseplants
- Dead bugs
- Dead cut flowers
- Stale cereal
- Feathers
- Bread
- Leftover hot cereal
- Onion skins
- Leftover fruits
- Leftover vegetables
- Dust bunnies
- Banana Peels
- Stale chips
- Stale crackers
- Coffee grounds
- Coffee filters
- Pet bedding from non-carnivorous animals
- Manure from non-carnivorous animals
- Contents of the dust pan
- Contents of the vacuum cleaner
- Pulp from the juicer
If the pH needs to be adjusted you can add ashes from the fireplace or woodstove. Just a little, though, or you will turn your soil too alkaline and decomposition will not occur.
(Note: While the manures of humans and carnivorous animals are compostable under certain conditions, great care must be taken with that or serious food-borne illness could occur. Those instructions are not included in this article. Check out The Humanure Handbook if you want to take composting to that level.)
*Article originally appeared at The Organic Prepper.


